


The LiT List
Glamping & Camping Ideas + Resources
How To Install A Stove Jack Flashing Kit On A Canvas Tent
What is a wood stove flashing kit and why do you need one?
Excellent question. If you're the proud and happy owner of a canvas tent, then you're about to be even prouder and happier once you've outfitted your canvas tent with a wood burning stove to stay warm, and a flashing kit to protect your tent by keeping out rainwater, and by providing added stability against the wind.
If you own a canvas tent from Life inTents, then you'll notice your tent already has a preinstalled stove jack and a 4" pipe exit hole (which can be enlarged up to 6"). If your canvas tent doesn't have a preinstalled stove jack, then you'll need to create a pipe exit hole to fit your specific wood stove tent pipe. It's a pretty simple undertaking, especially if you have a friend to help out.
Watch the video tutorial below, or scroll on to read the step-by-step instructions for how to install a stove jack flashing kit.
VIDEO TUTORIAL: HOW TO QUICKLY INSTALL A STOVE FLASHING KIT
This tutorial shows you how to install a wood stove flashing kit onto your canvas tent for use with a wood burning stove. The tent stove and flashing kit featured in this set-up should work with most canvas tents.*
*SAFETY NOTES: Always follow suggested tent placement provided by your selected wood stove manufacturer. You should also place a fireproof mat under the stove, clean the flue pipe regularly with a brush, place a carbon monoxide detector on the floor, and consider a wood stove thermometer.
-We also suggest that a triple-wall pipe is used at the point of exit, where contact is made to the flashing kit to help lower the rate of heat that comes in contact with the silicone flashing - as an extra precaution!
HOW TO INSTALL A STOVE JACK, A STEP-BY-STEP GUIDE
YOU'LL NEED:
- A pencil or pen
- A sharp knife blade
- Scissors
- 2 x wrench/es, socket/s, or plier/s
- The exit section of stove pipe
- A friend (not required, but makes it easier, depending on the friend ...)
AND MOST IMPORTANTLY YOU'LL NEED:
- A stove jack flashing kit
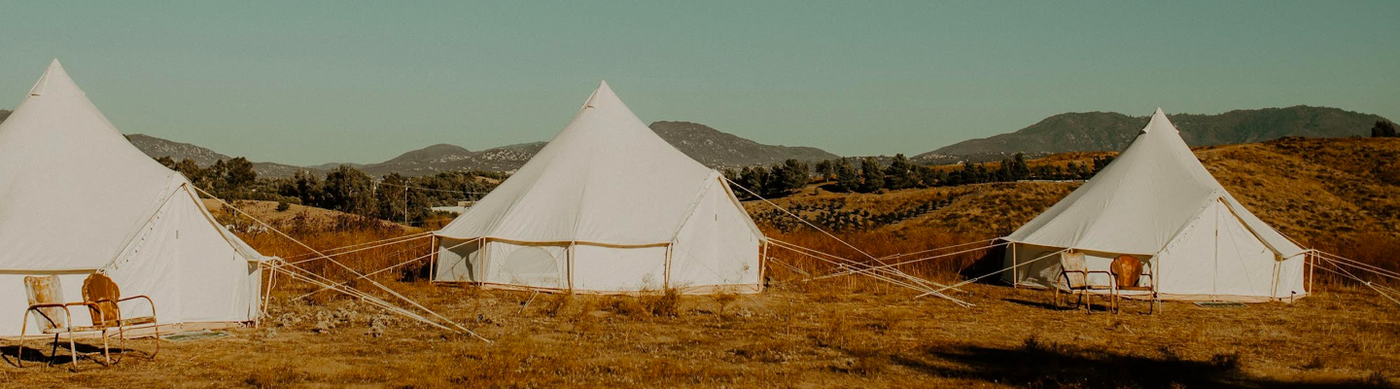
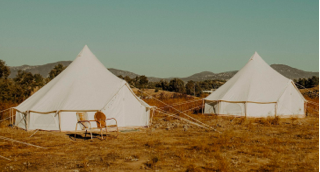
- A canvas bell tent
- A wood burning stove (we like the Winnerwell Woodlander stove)
DETAILS & SPECIFICATIONS:
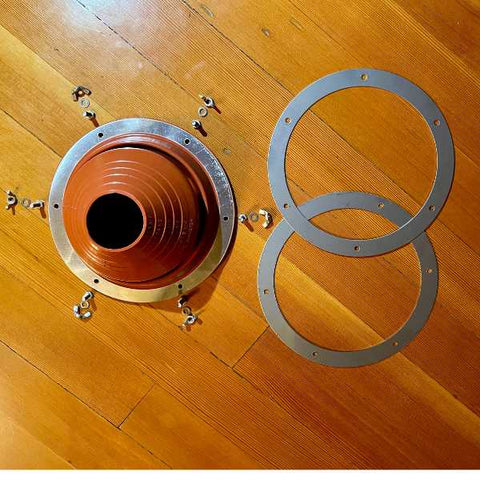
This particular stove jack flashing kit is made of silicone and stainless steel and protects stove pipe temperatures up to 455°F.
- Dual stainless steel rings secure flashing
- Includes 6 included wing-nuts, screws & bolts (wing nuts are new in 2024)
- Adjustable to fit from 2.5" to 6.25" stove pipes
- Outer diameter of metal ring: 9.5"
- Inner diameter of metal ring: 7.25"
- Total weight: 1.5 lbs.
Here's what it will look like after you've successfully installed your stove jack flashing kit. Hot stuff, right?

FITTING THE SILICONE FLASHING
Ready? Let's get fit! You'll want to cut the silicone flashing to fit the flue pipe just right, so here's how:
- Insert a section of the flue pipe into the silicone flashing exit.
- Fold the silicone into the flue to determine how much material you'll need to remove.
- Use a box knife or scissors to trim the silicone down to the desired diameter.

INSTALLING THE STOVE JACK FLASHING KIT
Now that you have the silicone flashing trimmed to fit, track down that hopefully-helpful friend of yours and let's get this baby installed!
STEP 1 - Remove all nuts, bolts, and washers from the flashing and set aside in a safe place.
STEP 2 - From inside the tent, press the exit pipe onto the desired installation location. Trace the circumference of the stove pipe with a pencil onto the canvas interior where you want the pipe exit to be located.

STEP 3 - Center a metal ring of the flashing kit over the newly traced circle, mark the location for each bolt with a pencil or pen.

STEP 4 - Using a sharp, pointed blade or a small drill bit on a power drill, carefully puncture the bolt markings on the tent.

STEP 5 - Get those wing nuts and bolts that you safely set aside. From the outside of the tent, place a metal ring over the top of the rubber gasket. Insert a washer and a bolt through the metal ring and the gasket. Now align the flashing kit and bolt with the top-most hole that you punctured in the canvas and guide the bolt through the canvas. The long side of the bolt will now be inside the canvas camping tent.

STEP 6 - Repeat Step 7 five more times, working your way around the circumference of the flashing kit with the sets of washers and bolts.

STEP 7 - From back inside the tent, add the washer and nut sets to each of the six protruding bolts. Tighten! This is where that friend can step up and be awesome. Have them hold on to the outside of the bolt (using a wrench or pliers or their incredibly strong hands) while you tighten from the inside (using a wrench or pliers or your incredibly strong hands). If you're flying solo on this installation, you might be able to reach up and outside to hold on to the bolt with one hand, while tightening with the other (particularly if you have walls that roll up for easier access).
DONE IN A FLASH
You've successfully installed your stove jack flashing kit. Now what? To finish up installing your wood stove inside your canvas tent, gently insert a section of the stove pipe up through the flashing kit. Next, connect that pipe section to your wood stove. Finally, add the remaining pipe sections from outside the tent. Make sure that your pipe section outside the tent is at least 15" above fire retardant canvas. And use a heat resistant fire mat beneath your wood stove on the inside. Now go ahead and put your feet up and enjoy. A nod of thanks to your helpful friend. Many seasons of warm and cozy tent times ahead. Nice work, team!

Now grab a nice field hatchet to cut some wood and check out our suede firewood carrier to help bring the wood into your tent!
SHOP OUR TENT STOVE GEAR

Related Resources

Connection Meets Craft: Inside INZU’s Story
Here’s to homes that feel something.To objects with stories.And to the beautiful, human threads thatINZU’s handcrafted Rwandan furniture and decor bring together artistry, sustainability, and story—turning beautiful spaces into meaningful ones.

How Do Bell Tents Handle Wind? What to Know Before You Set Up
Canvas bell tents are loved for their roomy interiors, classic shape, and comfortable glamping feel.Bell tents can handle wind well when properly set up. Learn how shape, staking, guy line tension, and long-term anchoring all affect wind performance.